LASER DaSH-IT · TUTORIAL CENTER
See the step. Follow real software screens from your first image to a measured project, a proven recipe and a finished handoff. Pick a lesson, follow the numbered steps, and use the checkpoints to keep moving.
10 practical tutorials · 65 numbered steps · Screenshots you can open full size
Start with an image → Understand Intelligence
These tutorials use captures from the current v1.8 development software. Features and screen names may differ in the latest public installer. The lessons identify experimental examples and distinguish software previews from physical proof. Updated October 14, 2026.
Create the artwork Build an image, a coin or a relief with an intentional source and physical size.
6 STEPS · REAL SCREENSHOTS
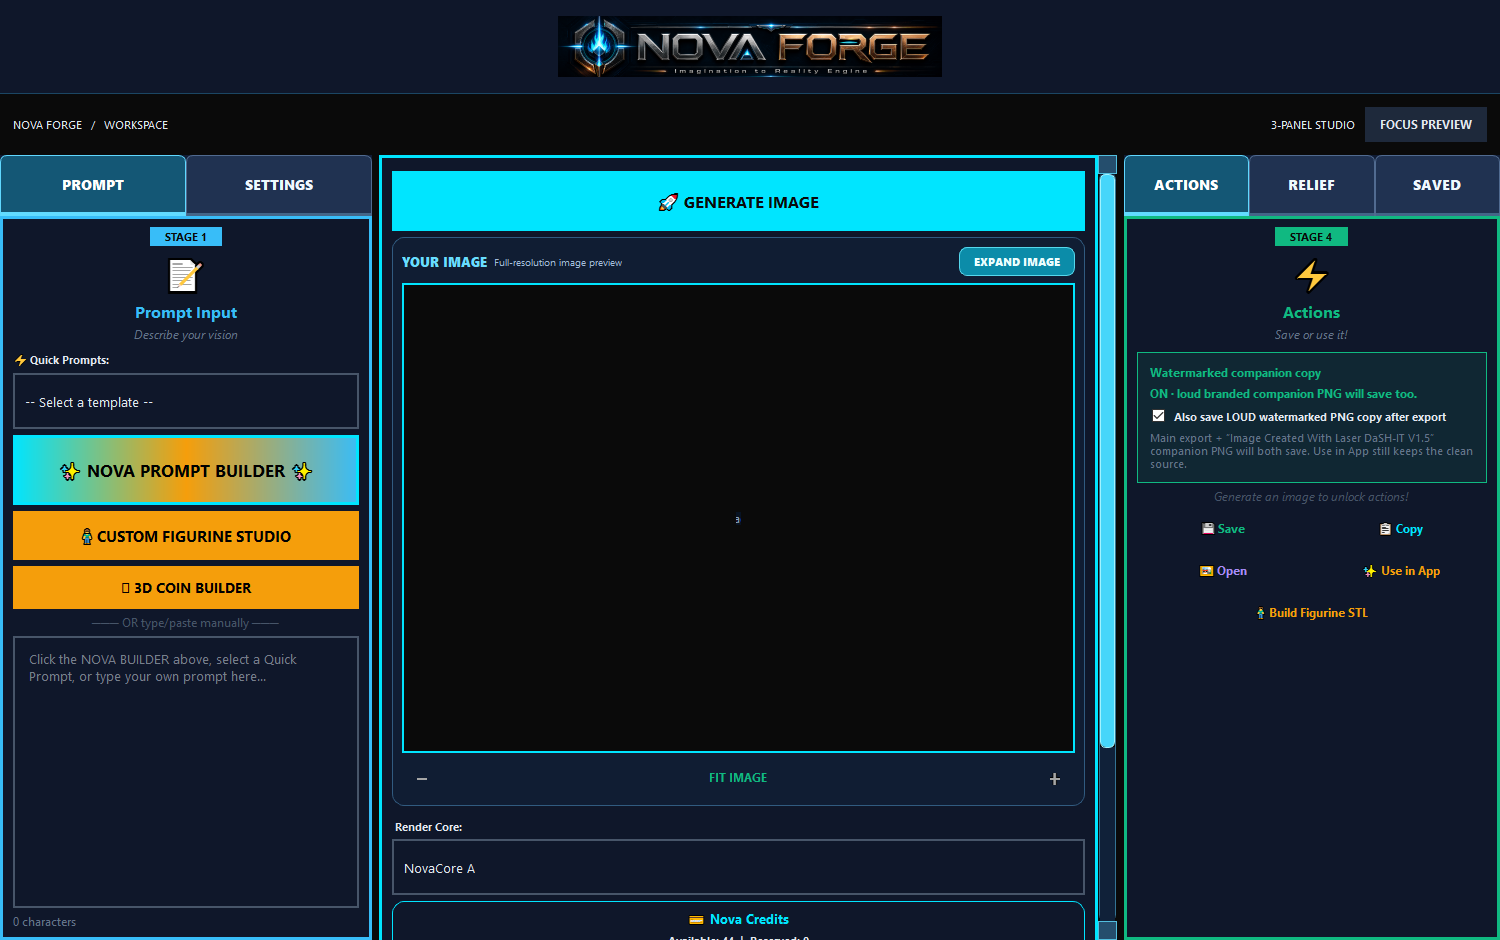
Write a useful prompt, review the generated artwork, and carry a clean image into the engraving workflow.
Start this tutorial →
6 STEPS · REAL SCREENSHOTS
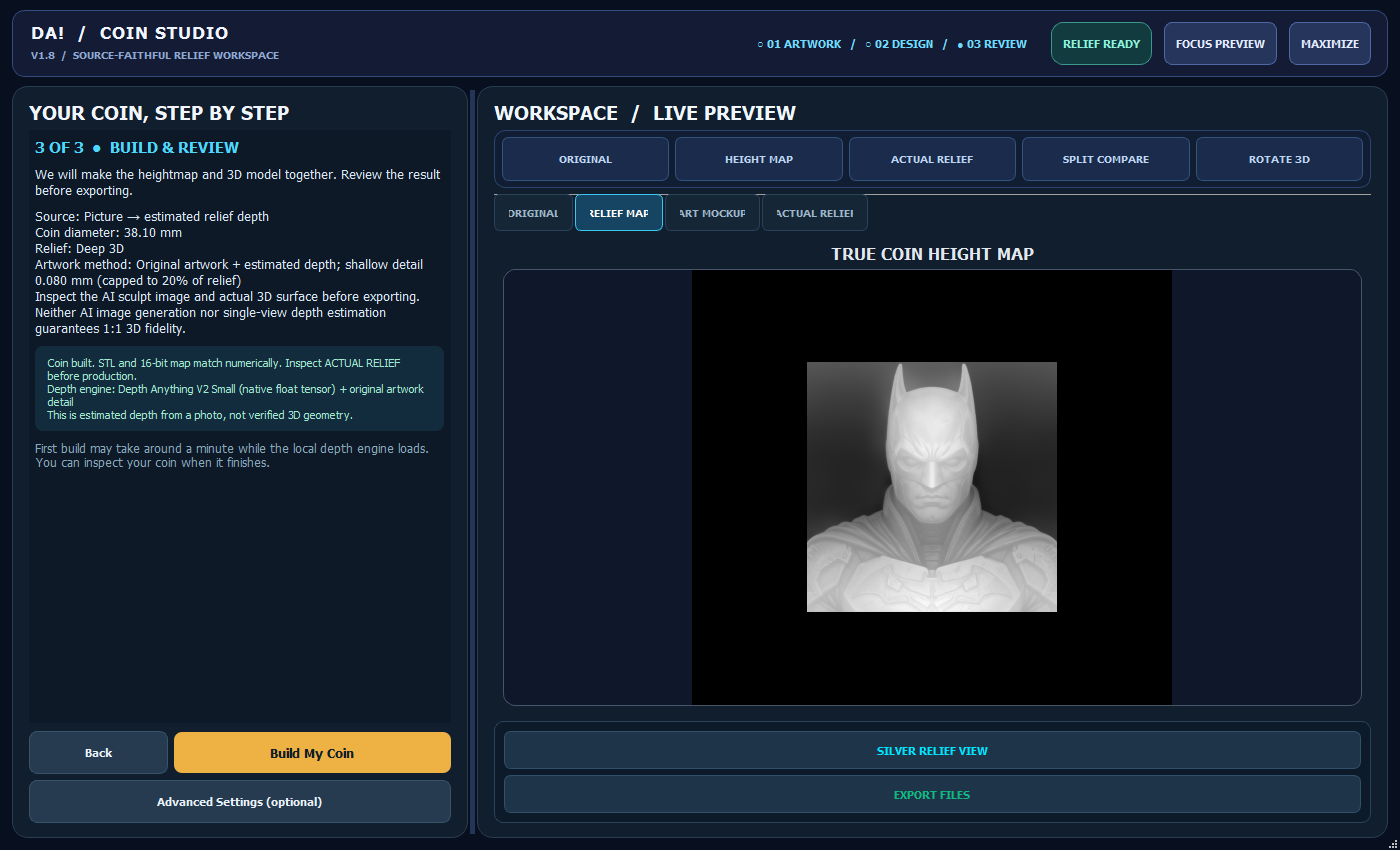
Turn a picture into a physically sized coin relief, then inspect the surface before exporting.
Start this tutorial →
6 STEPS · REAL SCREENSHOTS
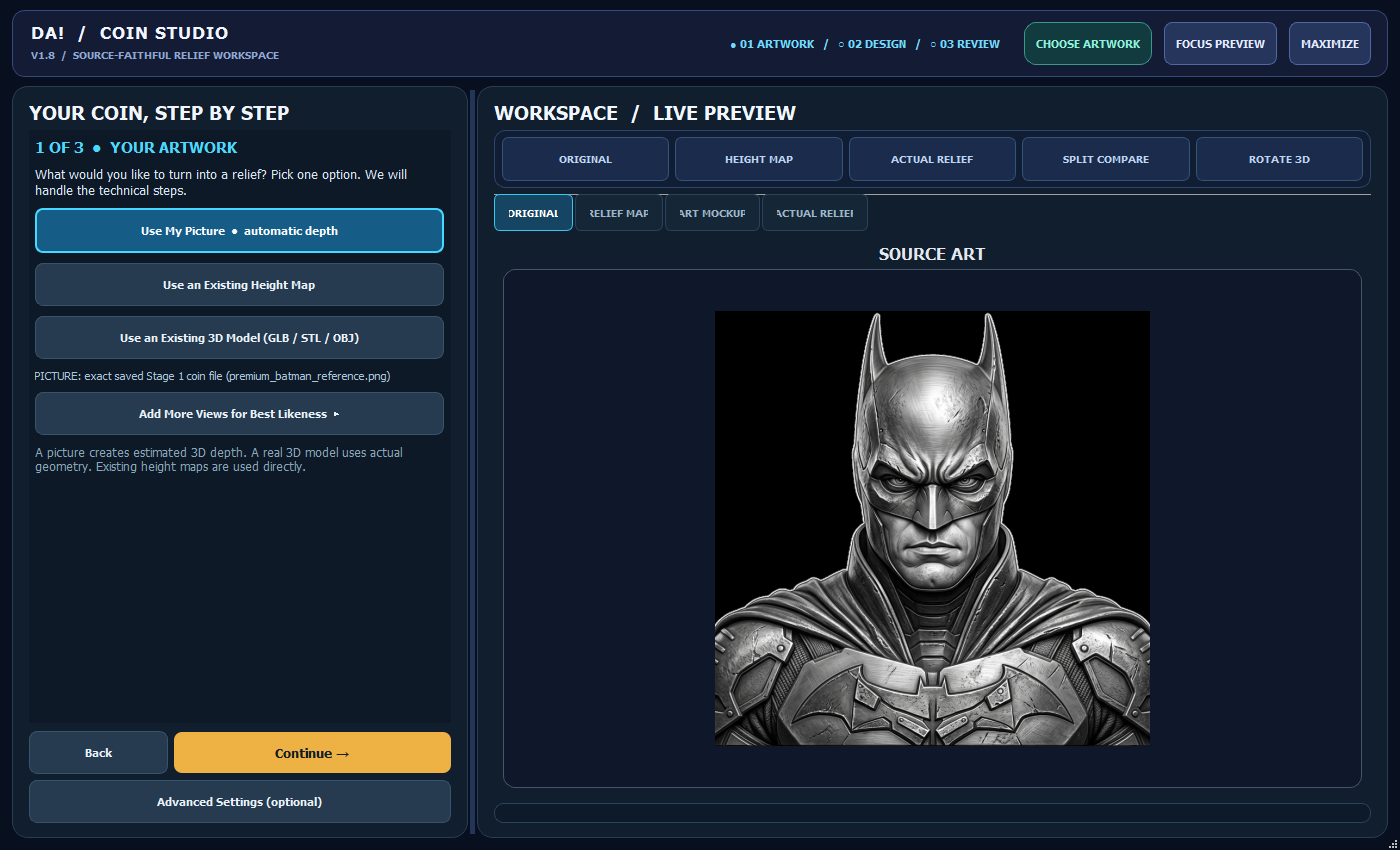
Keep the artwork’s outline and build a relief with a defined physical size.
Start this tutorial →
Prepare it for the material Follow the photo workflow, check the recipe, and prove the result on your own setup.
6 STEPS · REAL SCREENSHOTS
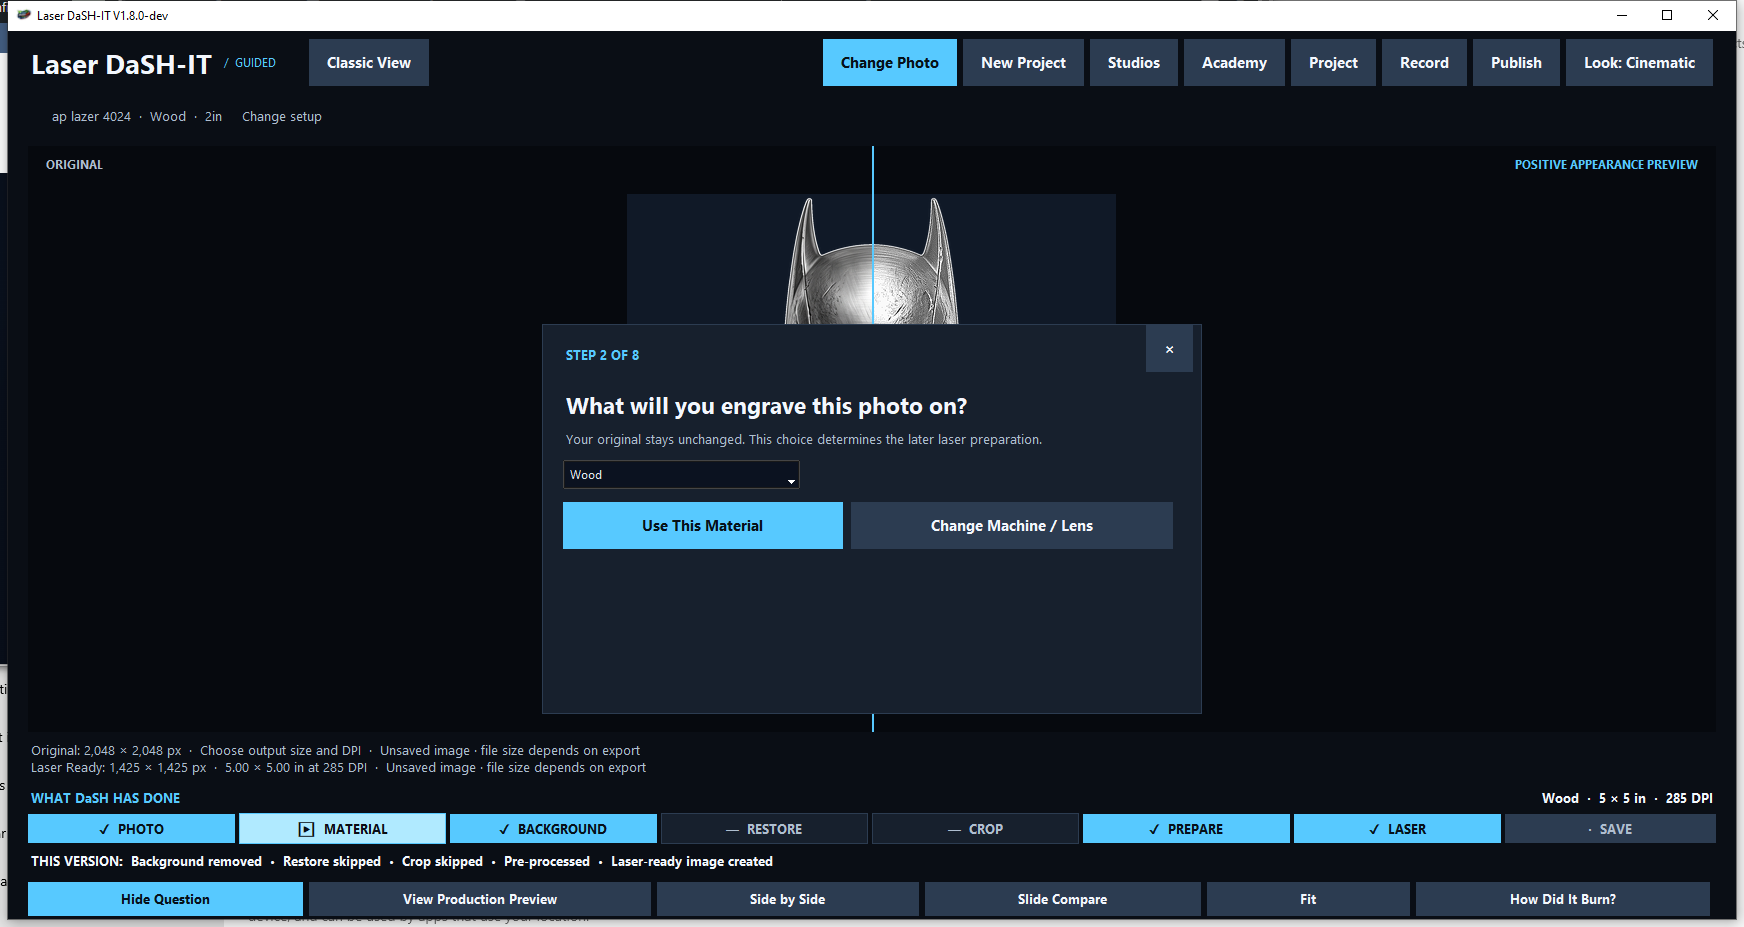
Prepare the image for your actual wood, prove the result, and save the successful version.
Start this tutorial →
6 STEPS · REAL SCREENSHOTS
Build a readable portrait on a dark substrate and verify the polarity and tonal response before the final stone.
Start this tutorial →
6 STEPS · REAL SCREENSHOTS
Find what the physical setup can reproduce, then link every result to the image version that produced it.
Start this tutorial →
Understand Intelligence and donors Learn what the evidence means, what a donor contributes and how confirmed feedback improves future starting points.
8 STEPS · REAL SCREENSHOTS
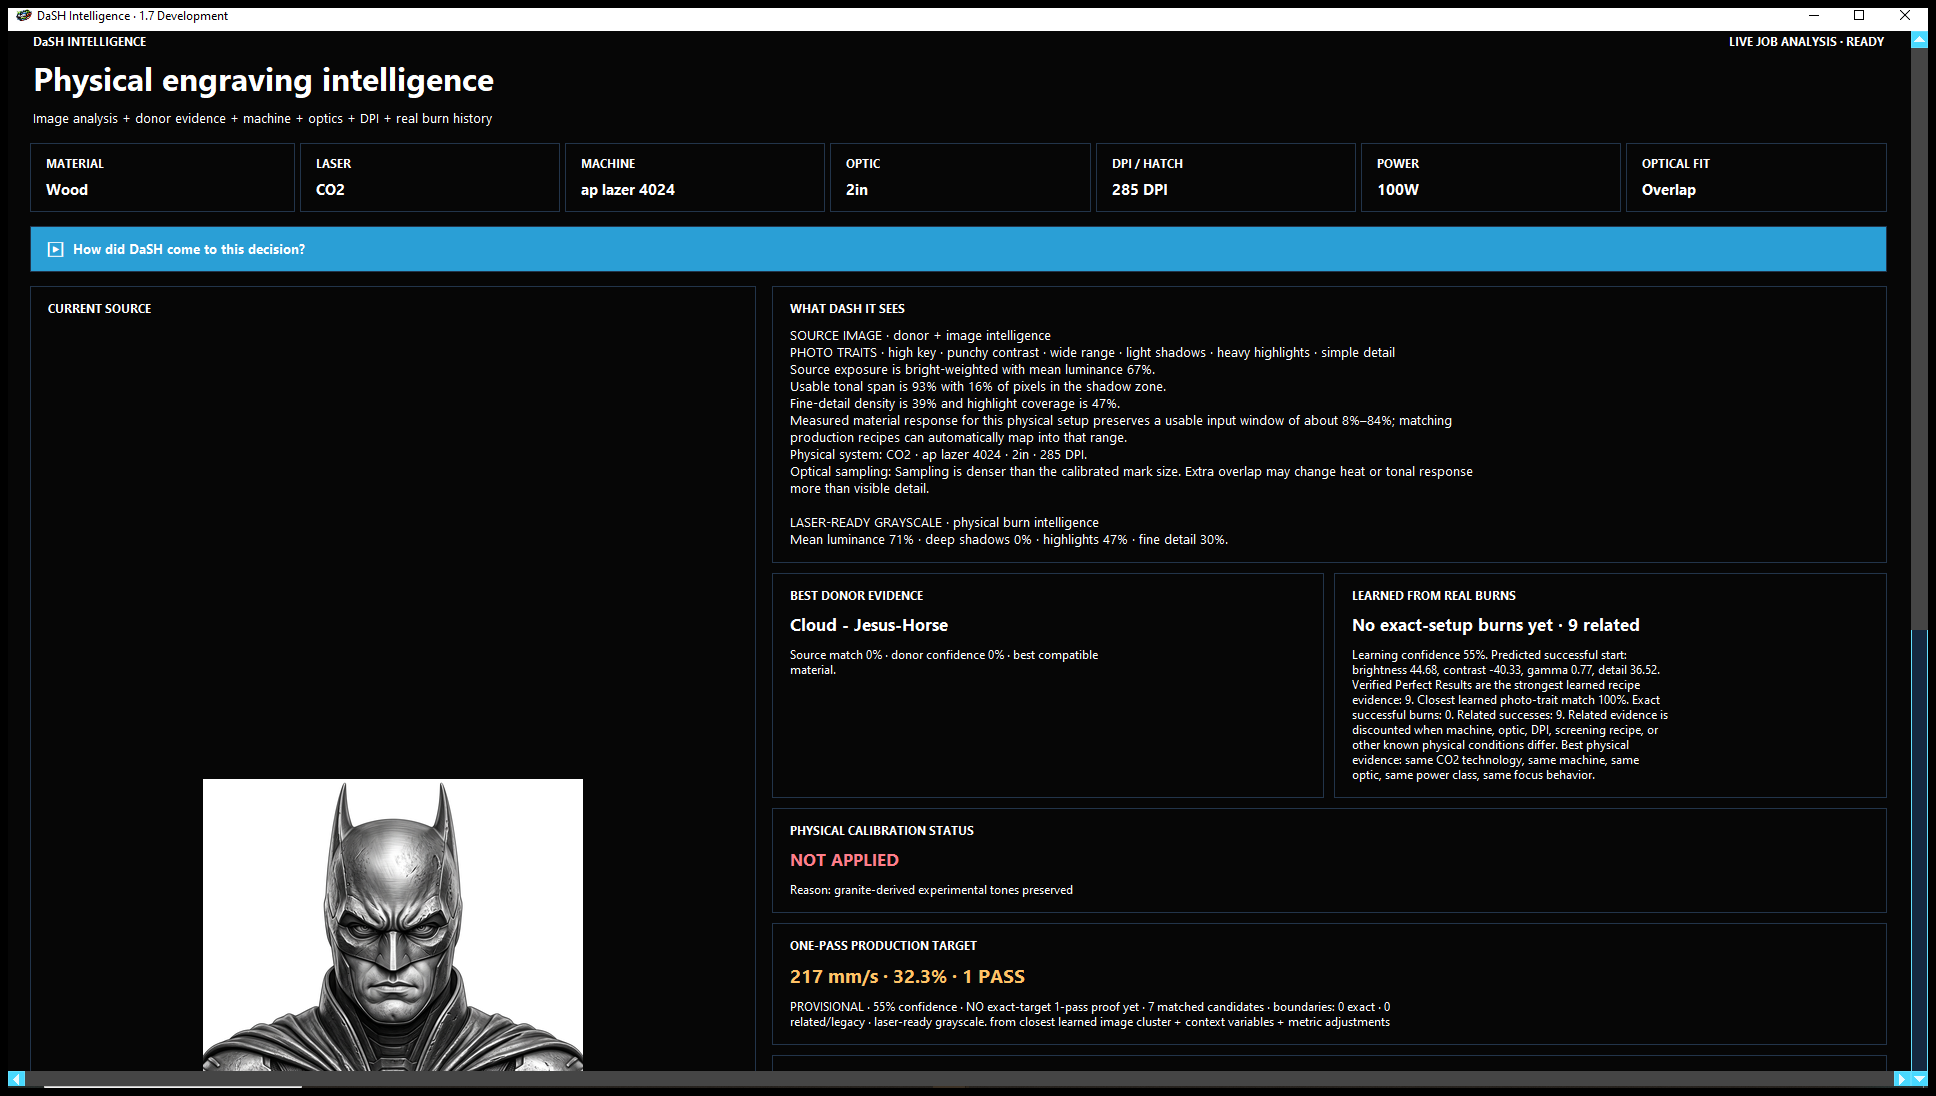
Understand what DaSH sees, how it uses donors and burn history, and what to do with a provisional recommendation.
Start this tutorial →
8 STEPS · REAL SCREENSHOTS
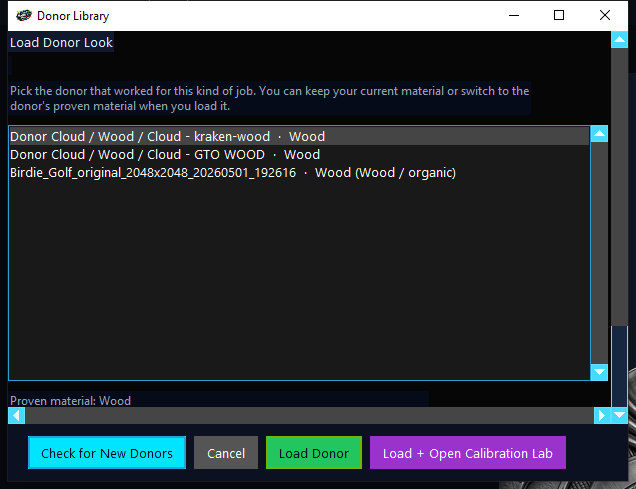
Use a proven reference to start closer to the look you want, while keeping the new photo and physical setup in view.
Start this tutorial →
Build a complete display Keep panel order, dimensions, framing decisions and production files connected.
7 STEPS · REAL SCREENSHOTS
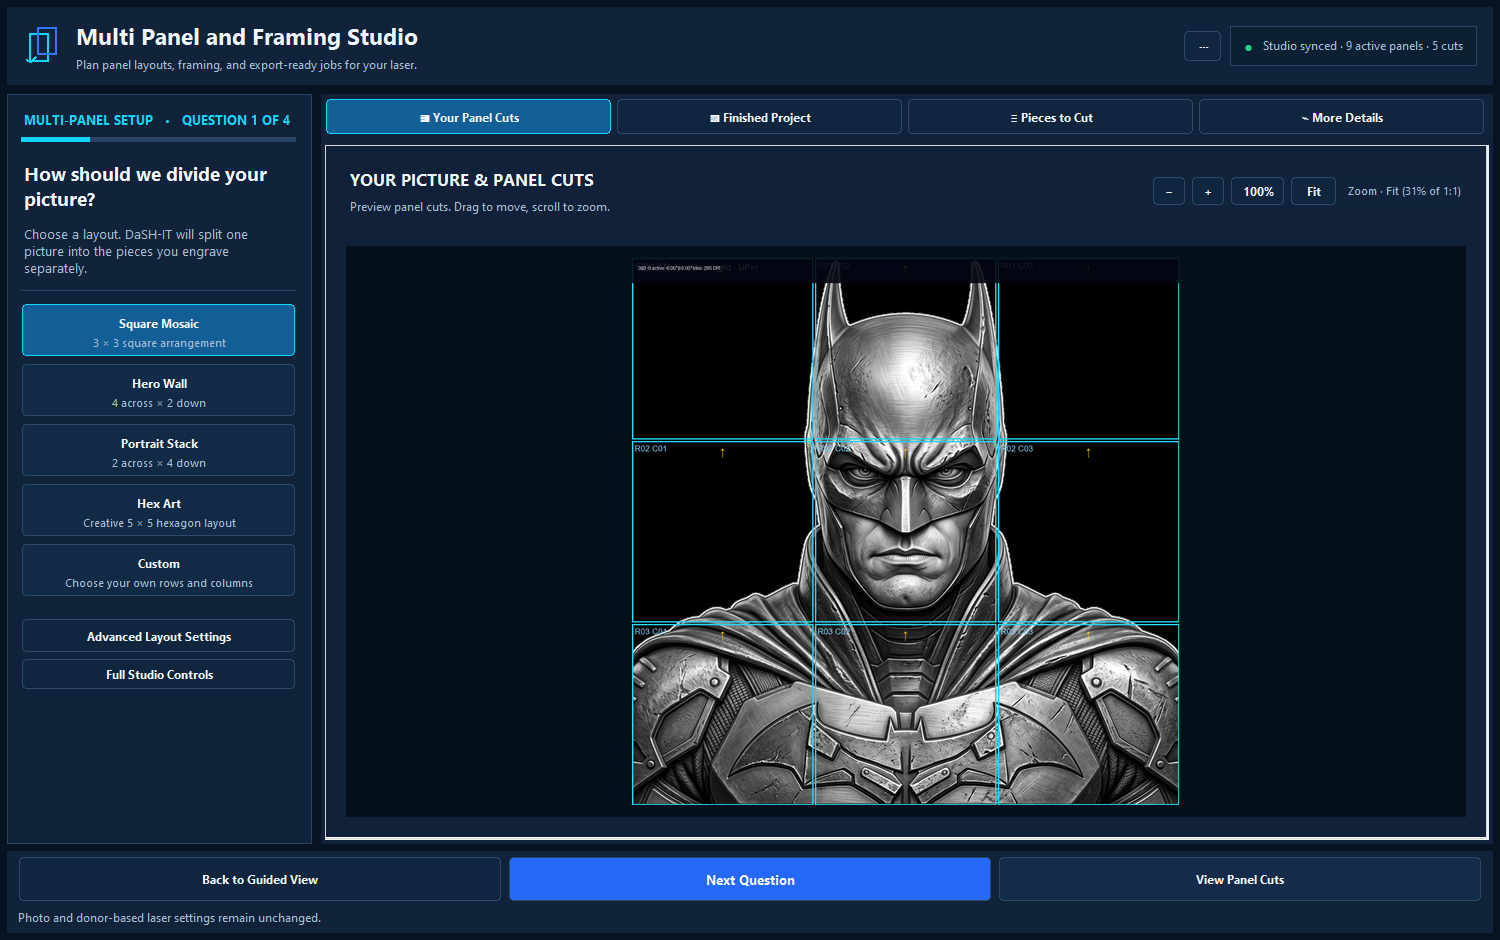
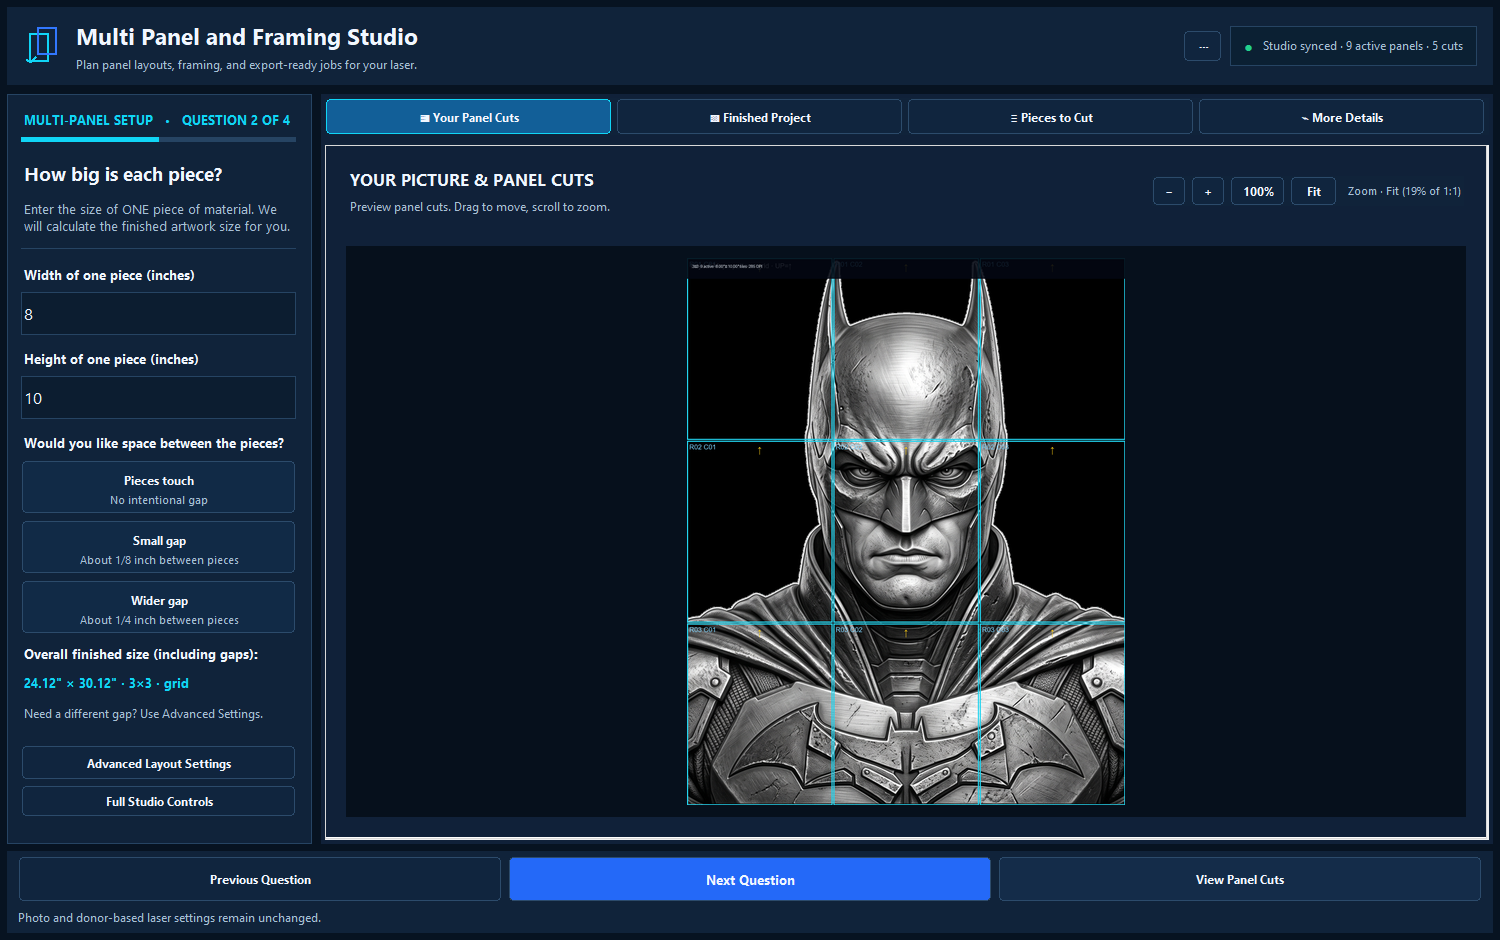
Divide one picture into ordered pieces and keep the dimensions, recipe and assembly plan connected.
Start this tutorial →
6 STEPS · REAL SCREENSHOTS
Turn a panel layout into a measured frame plan with a mockup, join details and stock estimates.
Start this tutorial →
Use the screenshots as a guide Each tutorial includes numbered actions, checkpoints and troubleshooting. Tap a screenshot for the full-size image. Compare the labels and selected material with your own job; the example values are not universal machine settings.
Explore all Laser DaSH-IT features →