
LASER DaSH-IT · STEP BY STEP
Generate a Photo and Bring It into DaSH-IT
Write a useful prompt, review the generated artwork, and carry a clean image into the engraving workflow.
Screens captured from the current v1.8 development software. Feature names and availability may differ in the latest public installer. Screenshots illustrate software operation; they are not photographs of finished physical work. Updated October 14, 2026.
STEP 01 / 06
Open the Image Generator
Choose Studios → Generator. The generator may display Nova Forge branding. Start on PROMPT: Quick Prompts, Nova Prompt Builder and the manual prompt field are alternative ways to describe the image. The center is the image preview; the right side contains Save and Use in App.
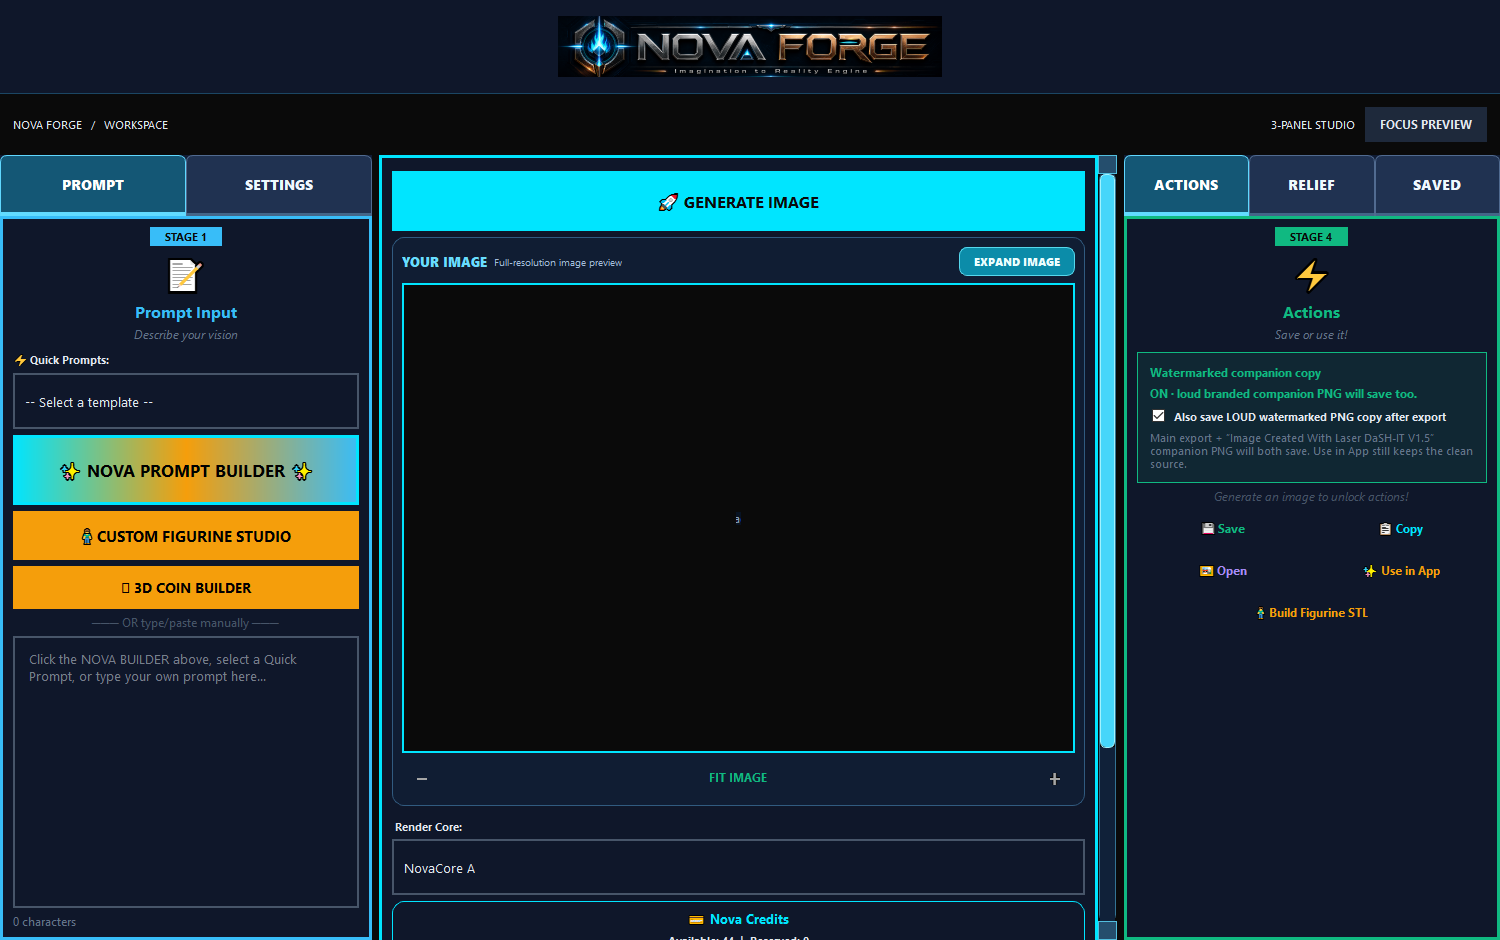
Checkpoint: You can see PROMPT, SETTINGS, the center preview and the ACTIONS panel.
STEP 02 / 06
Describe one clear image
Type the subject first, then pose, framing, lighting and background. For example: Photorealistic close-up portrait of a golden retriever, head and shoulders, looking toward the camera, soft side lighting, clear eyes, simple uncluttered background, detailed fur, no words or watermark. Keep the request focused. Clear subject separation gives you more flexibility during engraving preparation.
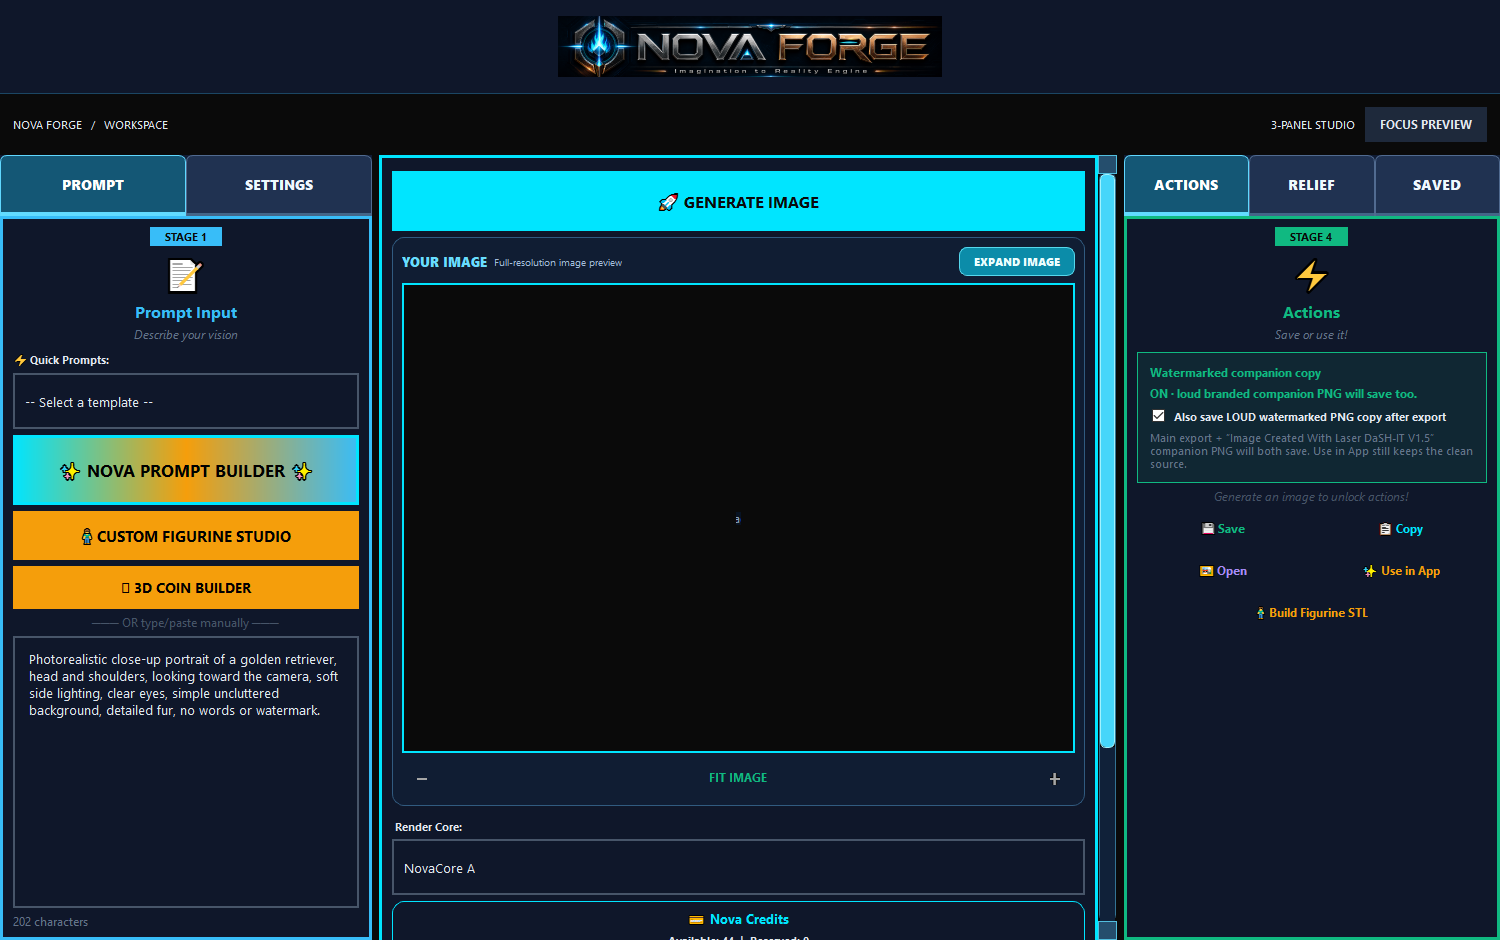
Checkpoint: Your prompt describes a single composition. This screenshot shows a prepared prompt before generation; the blank preview is expected.
STEP 03 / 06
Check settings before generating
Open SETTINGS and choose the available output size/aspect ratio to suit the job. Confirm the render connection and any access, allowance or charge notice displayed by your build. Generate at a useful resolution; the eventual engraving size and DPI will be set during production preparation. Do not assume every cloud or Premium route has identical terms.
Checkpoint: The aspect ratio suits the planned piece and the generation controls show an available connection.
STEP 04 / 06
Generate once and inspect closely
Click GENERATE IMAGE and wait for completion. Use EXPAND IMAGE or the preview zoom controls. Check eyes, hands, animal anatomy, lettering and small details. If a revision is needed, make a specific change to the prompt and generate another candidate. A generated picture still needs artistic and production review.
Checkpoint: A completed image fills the preview. Review it before saving or using it.
STEP 05 / 06
Save the artwork and use the clean source
Click Save to keep the original candidate, then Use in App to carry it into the main photo workflow. Review the optional watermarked companion copy setting before saving. Keep that companion separate from the clean artwork you intend to process.
Checkpoint: The main workspace shows the selected artwork, not a watermarked promotional companion.
STEP 06 / 06
Prepare it for the material
Choose the actual material, machine and lens, then crop and prepare the image. Continue to Laser Processing and make a physical proof. If the goal is a coin or relief, open that studio and verify the source again before building its depth or geometry.
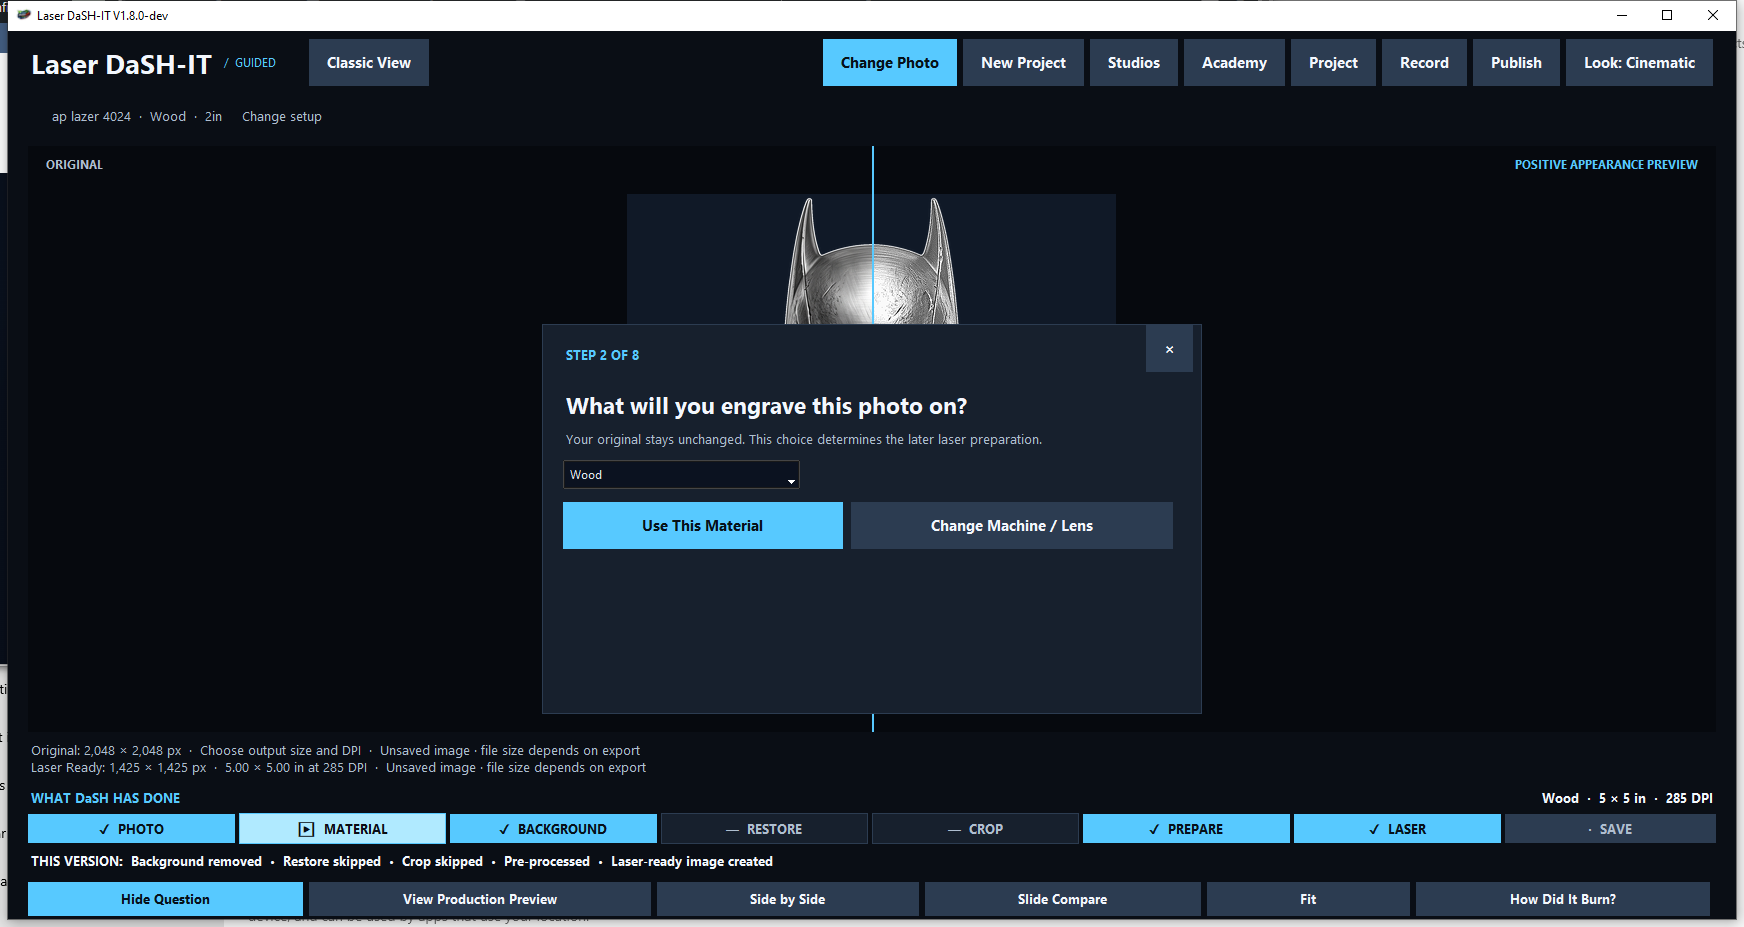
Checkpoint: The image has entered a real material workflow. Generation is the artwork stage, not the final laser recipe.