
LASER DaSH-IT · STEP BY STEP
Process a Photo for Black Granite
Build a readable portrait on a dark substrate and verify the polarity and tonal response before the final stone.
Screens captured from the current v1.8 development software. Feature names and availability may differ in the latest public installer. Screenshots illustrate software operation; they are not photographs of finished physical work. Updated October 14, 2026.
STEP 01 / 06
Choose Black Granite and confirm hardware
Open the Guided material question or Change setup → Change Material. Select Black Granite from the available materials and confirm it. Verify the actual machine, installed optic and output dimensions. The screenshot shows the location of this question with Wood selected; change that selection for this lesson.
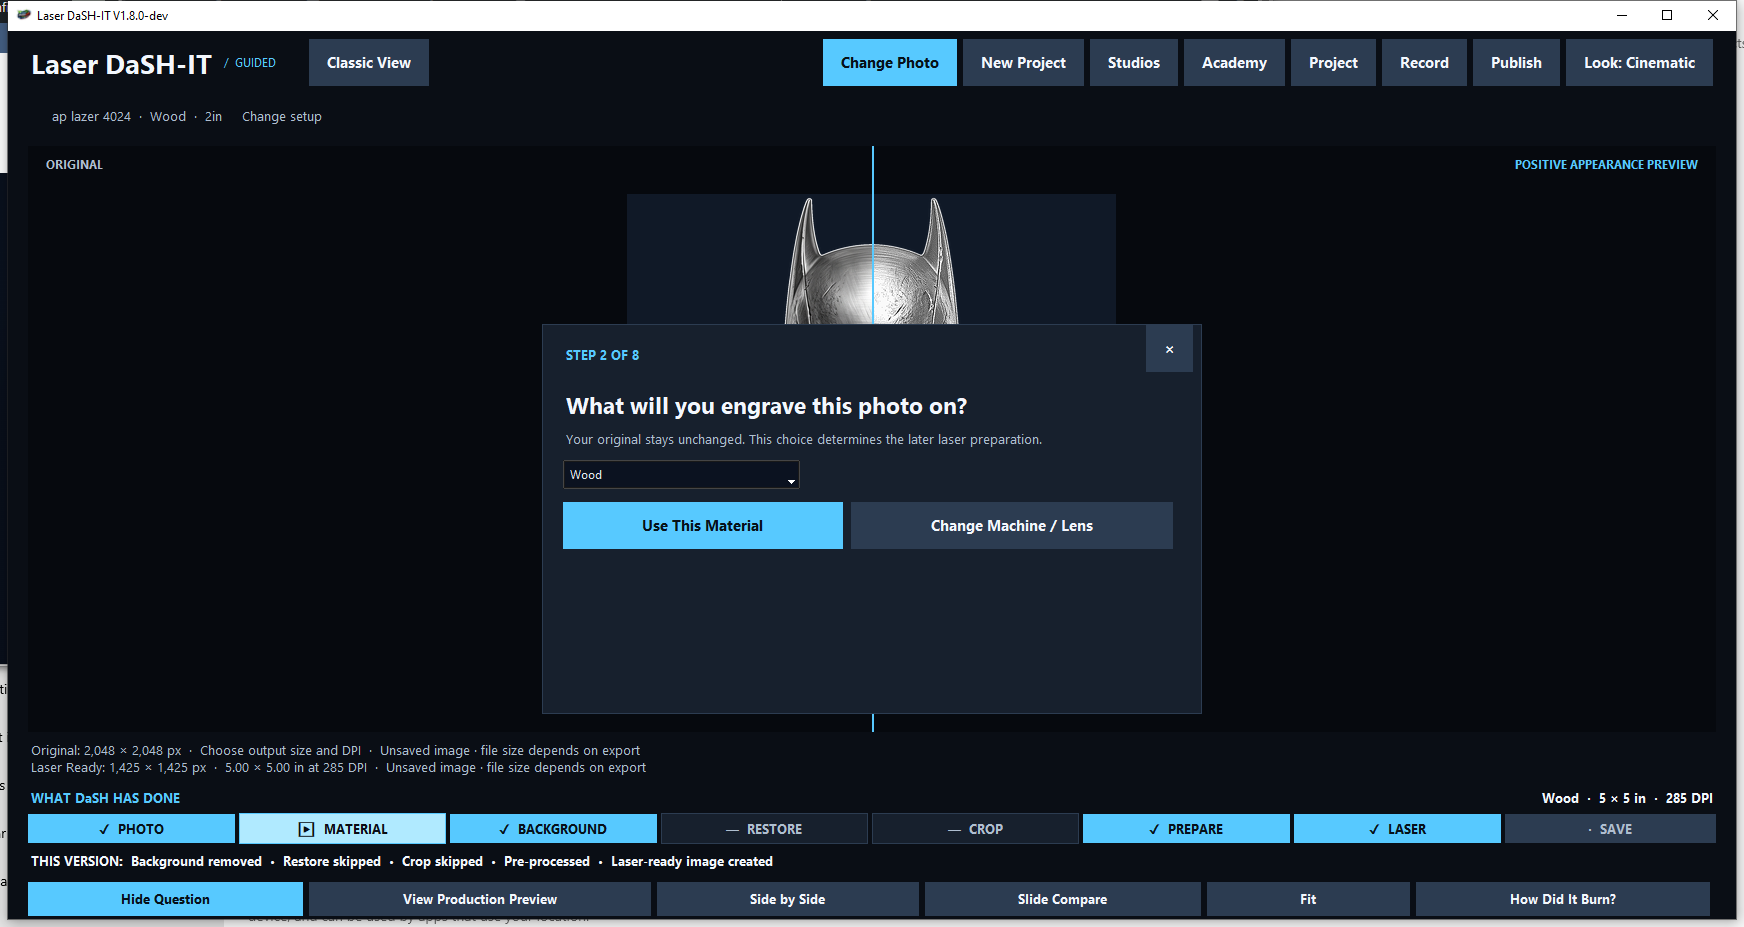
Checkpoint: The job header now says Black Granite, not Wood.
STEP 02 / 06
Prepare the portrait at final framing
Crop deliberately, complete Prepare and inspect the face at the intended finished size. Keep eyes, nose and mouth readable. Set output size before judging the available detail. Upscaling cannot create a physically sharp laser spot.
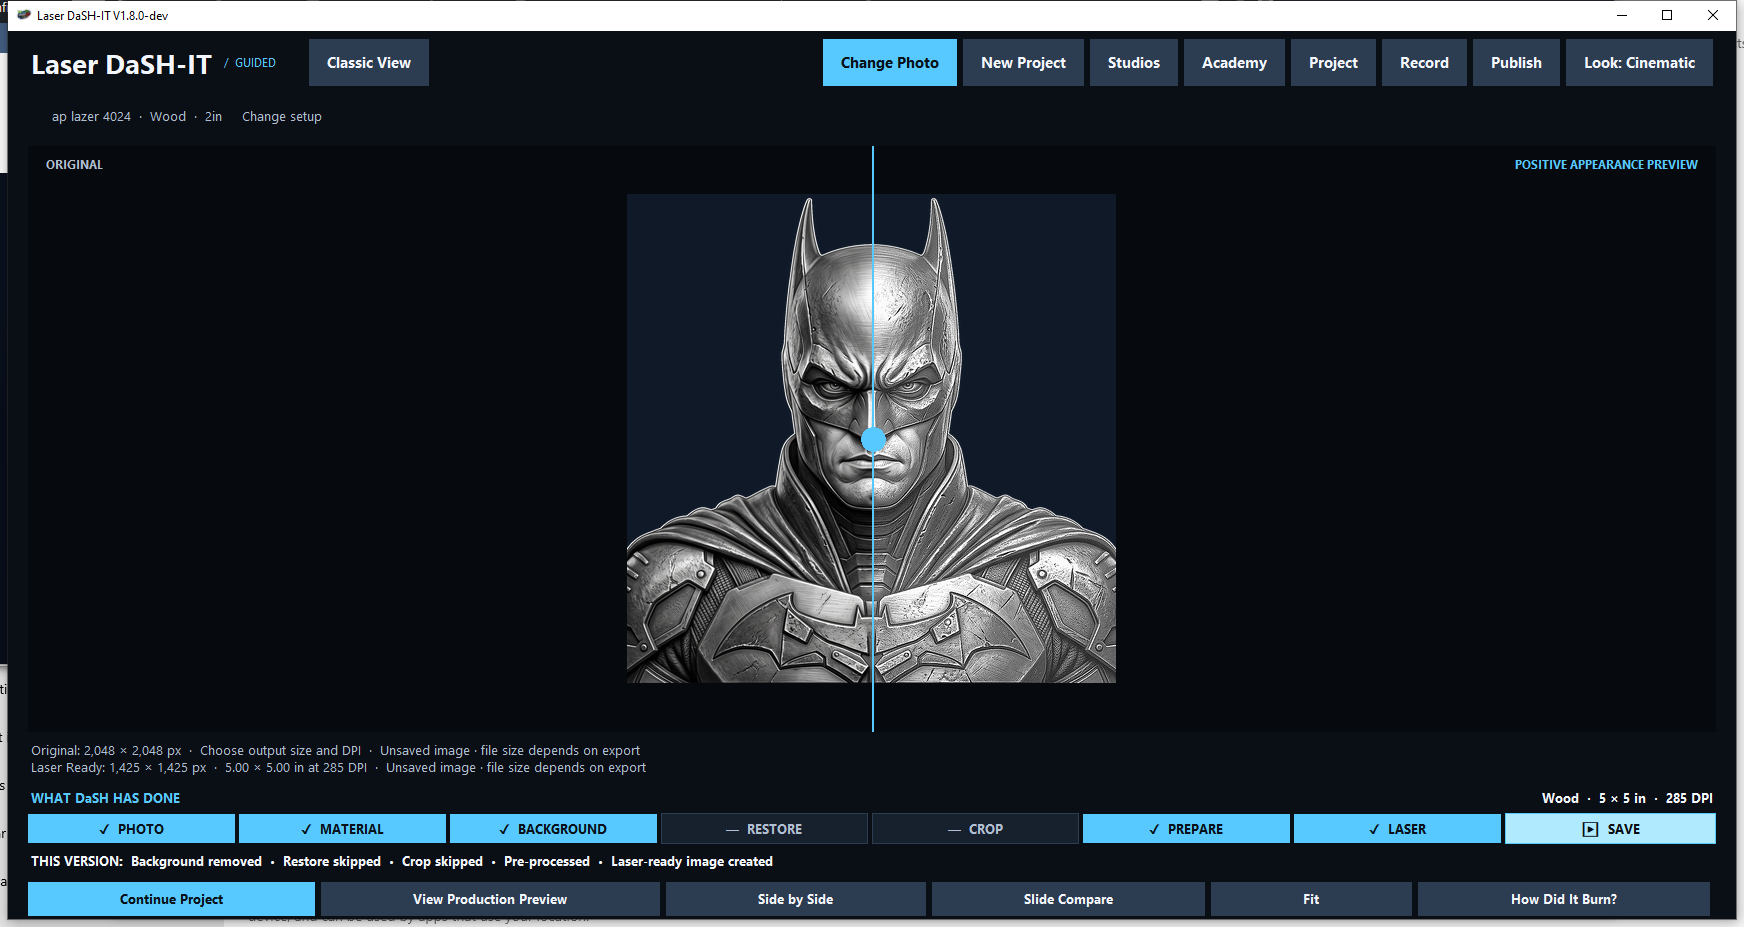
Checkpoint: The subject fits the final stone and fine features remain separated.
STEP 03 / 06
Check the physical context in Intelligence
Open Studios → Intelligence / Calibration. Read the material, laser, machine, optic and DPI fields first. If they are wrong, correct setup before using recommendations. The shown report is a Wood job from the development build; it teaches how to read the fields, not a granite recipe.
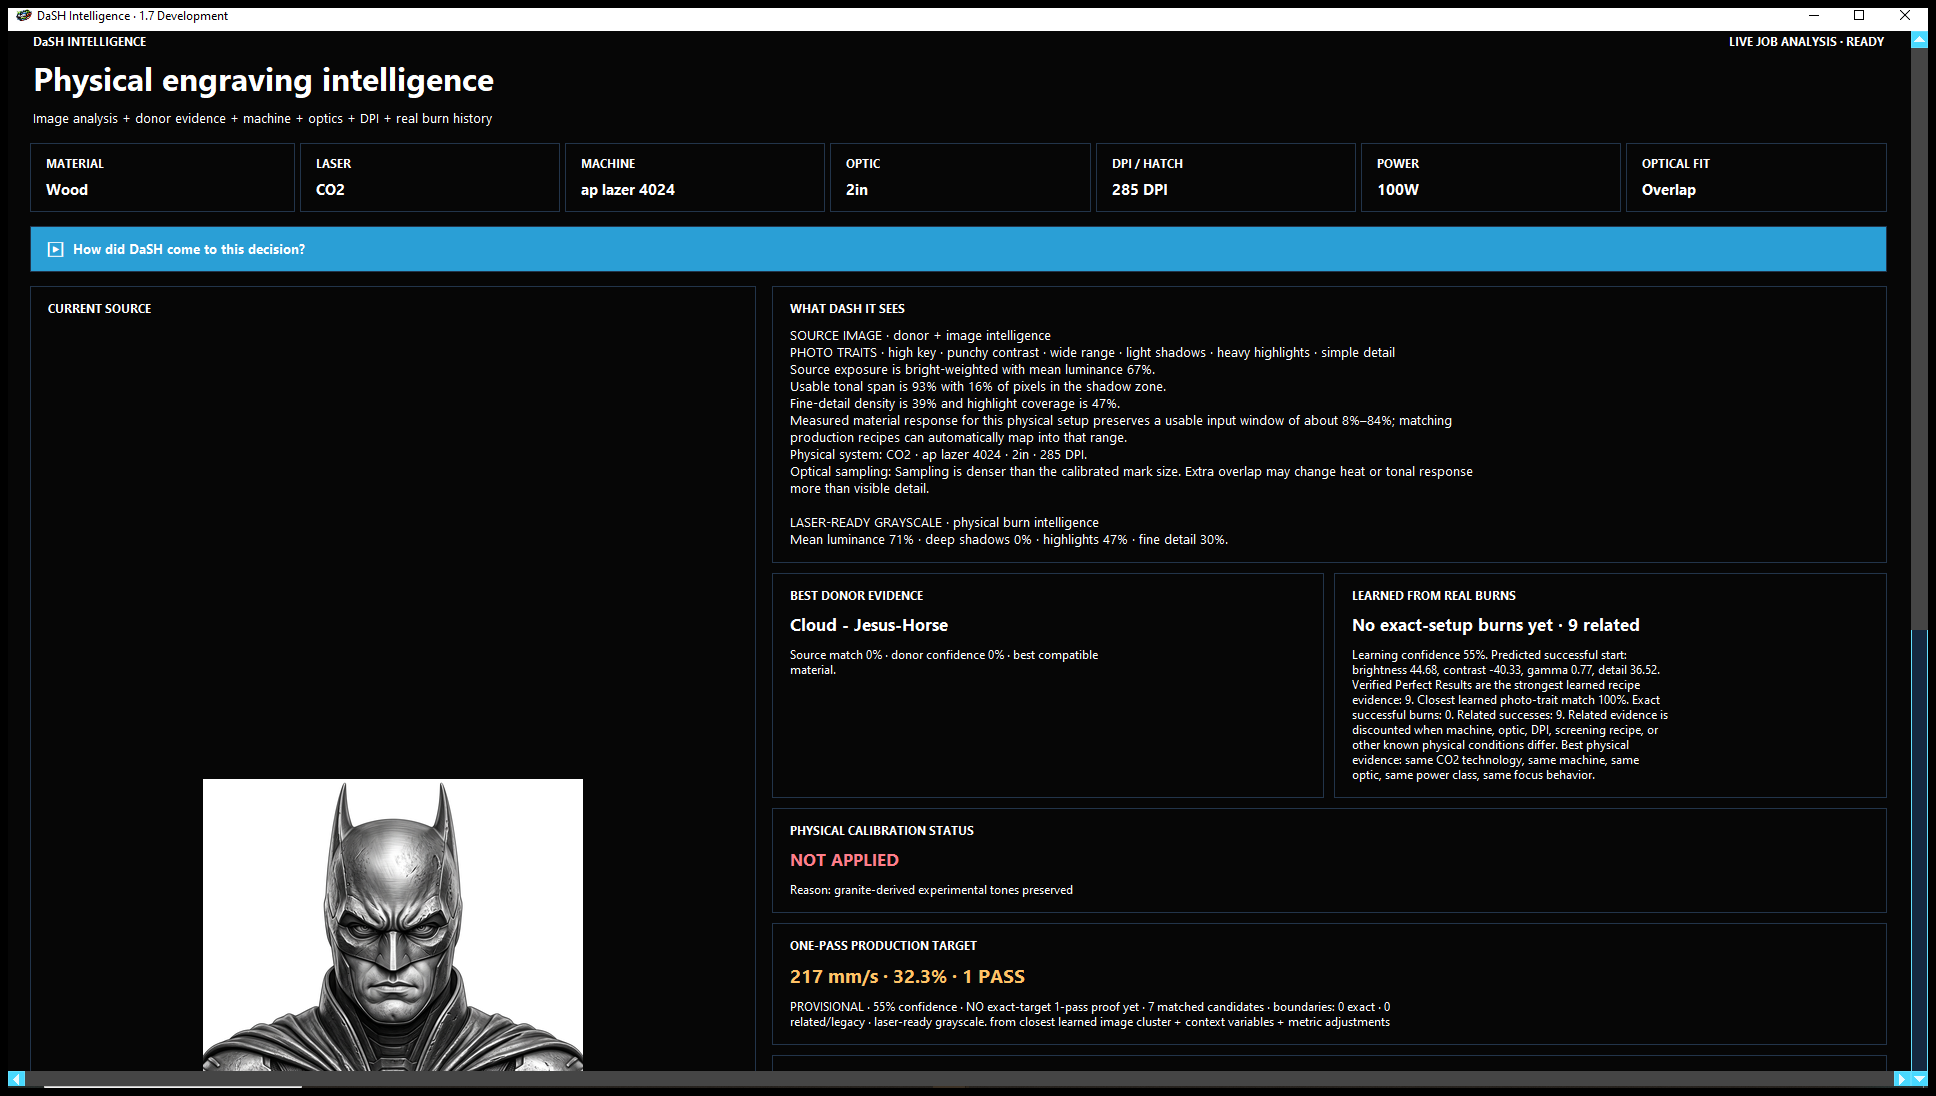
Checkpoint: Every context field matches your granite setup before you act on a recommendation.
STEP 04 / 06
Prove polarity and tonal range
Granite commonly produces a lighter mark on a dark background, so verify the intended light/dark interpretation with a small asymmetric sample. Do not add inversion in several places. Use Calibration Lab to establish usable tones for this physical setup and choose a representative proof containing face detail, highlights and shadows.
Checkpoint: The physical sample has the intended positive appearance and preserves useful tone separation.
STEP 05 / 06
Process and export the final test
Review the granite recipe, screening and resolution in Laser Processing. Apply it, export the exact test output and check its imported size and image mode in the receiving program. Use one screening stage for already dithered output. Keep the machine settings tied to the test rather than borrowing wood values or another operator’s percentages.
Checkpoint: The file being sent is the same version whose recipe you are testing.
STEP 06 / 06
Record and repeat the successful result
Compare the physical proof, adjust one cause at a time and save each candidate as its own trial. Record the actual settings and outcome for the selected trial. Once proved, lock the recipe, save the project and retain the winning export. Re-test if the stone, coating, lens or resolution changes.
Checkpoint: The final stone starts from a documented proof on comparable material.